The Complete Guide to Starting Ohio Seeds Indoors
Starting seeds indoors can save money and give Ohio gardeners more control over what goes into their beds, but starting too early can leave seedlings weak and crowded before the weather is ready. The key is to work backward from a realistic outdoor planting window, match each crop to the right setup, and move plants outside gradually.
Plan around your outdoor planting window
Indoor seed starting is not simply a matter of sowing as soon as winter feels long. Seeds started too early can outgrow their pots, become leggy, or spend weeks waiting indoors for soil and weather to cooperate. A better approach is to choose a likely planting window for each crop, then count backward using the seed packet’s suggested indoor-starting time.
In Ohio, planting windows vary across the state and from year to year. A gardener in a cooler northern location may need to wait longer for tender crops than someone in a warmer southern location. Even within one yard, a sunny, sheltered bed can warm earlier than a low spot or exposed plot. A date on the calendar is a planning estimate, not a promise that frost risk has ended.
Start by grouping crops by how they tolerate cold:
| Crop group | Examples | General approach |
|---|---|---|
| Hardy, cool-season crops | Broccoli, cabbage, kale, lettuce | Start indoors when you want transplants for an early or planned succession crop; many can also be sown outdoors when conditions suit them |
| Warm-season crops | Tomatoes, peppers, eggplant | Start indoors to give plants a head start, but wait to transplant until outdoor conditions are suitable |
| Cucurbits and fast-growing crops | Cucumbers, squash, melons | Often grow quickly; start indoors only a short time before transplanting, or direct-sow once the soil is warm enough |
| Root crops | Carrots, beets, radishes | Usually direct-sown because transplanting can disturb the developing root |
| Herbs and flowers | Basil, many annual flowers | Check each crop’s needs; some benefit from indoor starts, while others do well when sown outdoors |
These categories are useful, but they are not a substitute for the packet instructions. Two crops that sound similar may have different transplant preferences, germination speeds, or recommended lead times. When buying seed, read the packet for whether to start indoors, sow directly, or use either method. Seed packets from Botanical Interests, like other brands, should be treated as crop-specific instructions rather than as a one-size-fits-all schedule.
Count backward from planting out
The basic calculation is:
- Estimate when the outdoor bed is likely to be ready for that crop.
- Check how many weeks before transplanting the packet recommends starting seeds indoors.
- Count backward from the planting window.
- Add a little flexibility for slow germination or a delayed spring, but avoid starting dramatically early.
For example, a crop that needs a longer indoor lead time belongs earlier on the seed-starting calendar than a fast-growing crop that should be transplanted young. The exact timing depends on the crop and the packet. A seedling that has been indoors too long does not necessarily become a better transplant; it may become root-bound, tall, or stressed.
The outdoor planting window should account for more than the last expected frost. Tender crops also need suitable soil and air temperatures. A mild afternoon does not mean that nights are warm enough, and a warm stretch can be followed by a damaging cold snap. For the distinction between a plant’s hardiness zone and the timing of spring cold, see Hardiness Zones vs Frost Dates: What Controls Ohio Planting Timing.
For local planning, use resources that focus on your area and crop. Finding Local County Vegetable Planting Advice in Ohio can help you look for county-level guidance, while Spring Frost Probabilities and Garden Planting Across Ohio explains why a frost date is a probability rather than a fixed annual deadline. If you are planning a whole season, Annual Ohio Planting Calendar: Month-by-Month Outdoor Chores can help connect indoor starts with outdoor tasks.
Think in planting waves, not one big sowing day
A large batch of seedlings started all at once can create a bottleneck. You may have more plants than you can fit under lights, and everything may be ready for transplant at the same time. Instead, divide crops into waves based on their preferred outdoor conditions.
A practical plan might include:
- An early wave of cool-season transplants.
- A later wave of warm-season crops that must wait for more settled conditions.
- A small follow-up sowing for crops you want to harvest over a longer period.
Succession planting is useful for crops that mature quickly or are best harvested young. It is less useful to keep repeatedly starting a crop that produces over a long period from one planting. For a broader plan for staggered harvests, see Maximizing Ohio Growing Seasons With Succession Vegetable Planting.
If spring conditions change, adjust the plan. Delay sowing when outdoor beds are still cold or waterlogged, and avoid pushing tender crops out just because seedlings have reached a certain size. A flexible schedule is more reliable than trying to make every crop follow a single statewide date.
Choose seeds and containers that suit the crop
Before buying seed or filling trays, decide what you have room to grow. Indoor space, light, potting mix, and time all limit the number of seedlings you can manage. Starting more seed than you can care for often leads to overcrowding, uneven watering, and rushed transplanting.
Choose crops you actually plan to eat or use, and check the expected mature plant size before deciding how many to start. A handful of tomato plants can take up substantial bed space once they grow. A small garden may be better served by a few well-tended plants than by a full tray of seedlings.
Read the seed packet first
A seed packet can answer practical questions that affect the entire process:
- Whether the crop should be started indoors or sown outside.
- How deeply to sow the seed.
- Whether the seed needs light or darkness to germinate.
- How long germination may take.
- When seedlings are ready to transplant.
- Whether seedlings need thinning or extra space.
- Whether the crop is suited to spring, summer, or fall growing.
Follow the packet’s sowing depth and spacing guidance rather than assuming every seed should be buried the same amount. Very small seeds may need only light coverage, while larger seeds are generally planted more deeply. Some seeds need light to germinate, so covering them too heavily can prevent or slow emergence.
Check seed packets for age and storage information as well. Older seed may still germinate, but germination can become less dependable over time, especially if seed has been stored in warm or damp conditions. If you are uncertain about a saved packet, test a few seeds on a damp paper towel before committing valuable tray space. A simple germination test can help you decide whether to sow more heavily or replace the seed.
Select a suitable starting mix
Seed-starting mix should be fine-textured, clean, and able to hold moisture while still draining. Garden soil is usually a poor choice for small indoor containers: it can be heavy, compact as it dries, and carry organisms that cause seedling problems. A purpose-made seed-starting mix or a suitable container mix is easier to handle in small cells.
Pre-moisten dry mix before filling containers. Add water gradually and mix until the medium feels evenly damp, not soggy. A handful should hold together lightly when squeezed, with no stream of water running out. Dry mix can be difficult to wet evenly after sowing; saturated mix can leave seeds short of air.
Use clean trays, pots, or recycled containers with drainage holes. Wash reused containers to remove old soil and plant residue. If a container has no drainage, water can collect at the bottom and keep roots too wet. A tray beneath the pots is useful for catching runoff, but it should not remain full of standing water.
Peat or fiber pots can be convenient, but they need careful moisture management. Their sides can dry out quickly, and an exposed rim may wick moisture away from the seedling. If a plant is moved outside in a biodegradable pot, avoid leaving the pot rim above the soil where it can dry and draw moisture from the root zone. Plastic cells are reusable and easier to keep evenly moist, but they must be cleaned between uses.
Match container size to the seedling
Many small seeds can begin in shallow cells or trays, then be moved into individual pots once they have true leaves. Larger seeds and seedlings that dislike root disturbance may do better started in individual cells or pots. The best container is not necessarily the largest one. Excess mix in a large pot can stay wet longer than the young plant can use it.
Plan for potting up before seedlings become crowded. A seedling that has filled its small cell with roots may need more space, but moving it earlier can reduce stress. If the roots are visible around the outside of the plug or have started to circle, check whether the plant is ready for a larger container.
For crops that are sensitive to root disturbance, handle the root ball gently and avoid pulling seedlings by their stems. If you are starting a crop that usually grows well from direct sowing, consider whether an indoor start is worth the added transplant risk. Direct-Sown Seeds vs Nursery Transplants in Ohio Spring Gardens compares those approaches.
Set up light, warmth, and airflow
A successful indoor setup does not need to be complicated, but it does need to provide steady conditions. The most common problems are inadequate light, uneven moisture, and a warm room that encourages weak growth without enough light to support it.
Give seedlings strong, close light
A sunny windowsill may work for some starts, but window light can be uneven, especially during short, cloudy days. Seedlings often lean toward the glass and stretch as they search for light. If stems become thin and tall, extra warmth alone will not fix the problem; seedlings need more usable light.
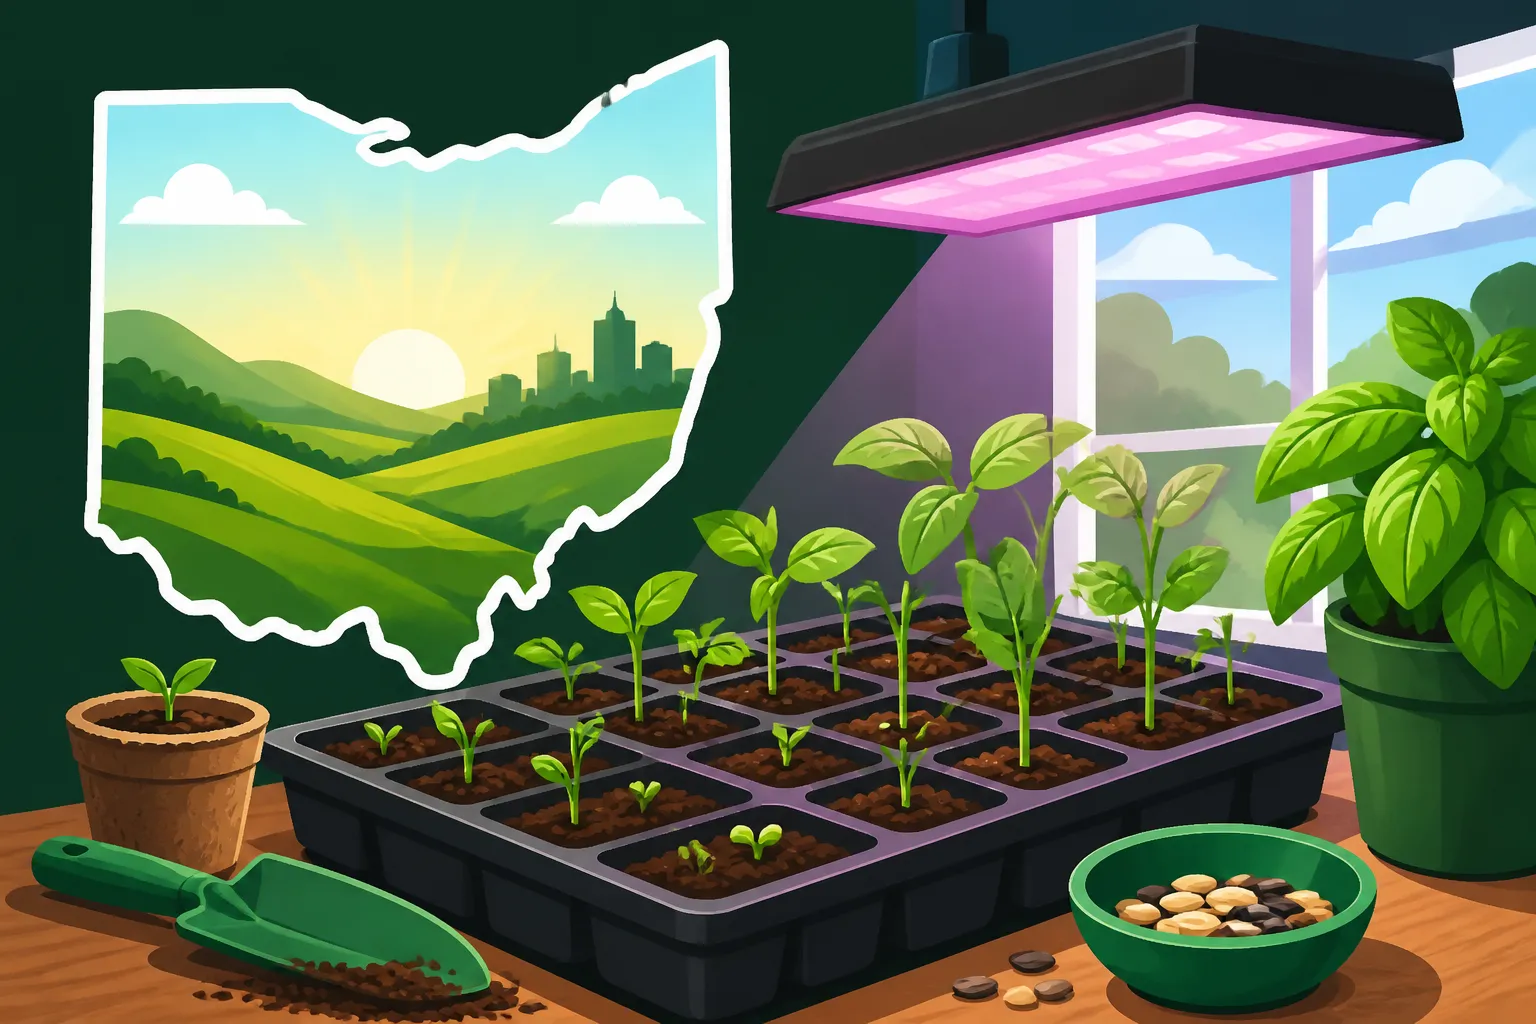
A grow light makes it easier to give seedlings consistent illumination. Keep the light close enough to the tops of the plants to prevent stretching, while following the fixture’s instructions to avoid overheating or scorching leaves. As seedlings grow, raise the fixture or lower the tray so the distance stays appropriate. A light that is too far away may leave plants leggy even if it is switched on for many hours.
Rotate trays periodically if light comes from one side. This can help plants grow more evenly, although it is not a substitute for adequate light intensity. Avoid placing seedlings where drafts from doors or cold windows repeatedly chill them.
Use warmth for germination, then adjust
Seeds generally germinate best within a temperature range that varies by crop. The packet may give useful guidance. A warm location can help some seeds emerge, but once seedlings are up, excessive warmth combined with weak light can make them lanky.
A heat mat can help keep the seed-starting medium warm, particularly in a cool room. It is most useful when the crop benefits from warmer germination conditions. Follow the equipment instructions, and remove or adjust the mat when it is no longer needed. Do not assume that every crop needs bottom heat.
After emergence, provide bright light and avoid keeping seedlings in a hot, stagnant spot. A small fan on a gentle setting, used so that plants move slightly rather than being battered, can improve airflow and encourage sturdier stems. Do not point a strong fan directly at tender seedlings or let air movement dry the mix too quickly.
Keep a simple record
Label every tray and pot with the crop and sowing date. Seedlings can look remarkably alike early on, and memory becomes unreliable once several batches are growing. Add variety names if you are comparing more than one. A marker that remains readable when wet is useful.
A notebook or simple spreadsheet can track:
- Crop and variety.
- Sowing date.
- Number of seeds started.
- Germination and thinning notes.
- Potting-up date.
- Hardening-off progress.
- Outdoor planting date.
These records help you improve the next round. If a crop repeatedly becomes too large before the bed is ready, start it later next time. If emergence is poor, review seed age, sowing depth, moisture, and warmth before simply increasing the number of seeds.
For a more complete indoor setup, including trays and other basic supplies, see Setting Up Seed Starting Trays Indoors for Early Spring Crops. If you are still deciding whether to start a crop indoors or buy a transplant, Starting Ohio Vegetable Seeds Indoors: Schedules and Setup offers related planning help.
Sow seeds and care for emerging seedlings
Once your supplies are ready, keep the process simple and consistent. The goal is evenly moist growing medium, enough space for seedlings, and gentle handling. Overcomplicated routines are usually less useful than checking the trays regularly and responding to what the plants actually need.
A reliable sowing sequence
- Clean your work surface and containers. Check that each container drains freely.
- Moisten the starting mix before filling the containers.
- Fill cells or pots loosely, then level the surface without packing it hard.
- Sow at the depth and spacing given on the packet.
- Label each container immediately.
- Water gently so seeds stay in place and the mix becomes evenly moist.
- Cover the container only if the crop or setup calls for it.
- Place it in the appropriate temperature and light conditions for germination.
Many gardeners sow more than one seed per cell when germination is uncertain, then thin to the strongest seedling. If you thin, snip unwanted seedlings at the surface rather than tugging them out beside a plant you want to keep. Pulling can disturb the remaining seedling’s roots.
Do not sow every seed in a packet unless you know you can manage the resulting plants. Extra seedlings need more light, room, water, and potting mix. If you want insurance against poor emergence, start a modest surplus and plan where any extras will go.
Water without keeping the mix saturated
Seed-starting mix should remain evenly damp during germination, but constant saturation deprives roots of air and can encourage seedling disease. Check the surface and the weight of the container rather than watering automatically on a fixed schedule. A tray that feels light and has begun to dry may need water; a heavy, wet tray probably does not.
Gentle watering from above works if the stream will not dislodge seeds. Bottom watering can help moisten cells evenly: set the tray in a shallow amount of water and remove it once the mix has absorbed moisture. Do not leave it sitting in water for an extended period.
After seedlings emerge, let the surface begin to dry slightly between waterings without allowing the root zone to become bone dry. Small cells can dry quickly, especially in warm rooms or under lights. Larger pots usually hold moisture longer. Check different areas of the tray, since edges can dry faster than the center.
Fuzzy growth on the surface can indicate excess moisture, poor airflow, or organic material breaking down. Reduce persistent wetness, increase gentle airflow, and remove any standing water. If seedlings collapse at the soil line or stems become pinched and weak, improve conditions promptly and discard severely affected plants rather than trying to save a tray of failing seedlings.
Thin and pot up at the right stage
Seedlings often develop a first pair of seed leaves that differ in shape from the plant’s later leaves. These are cotyledons. True leaves appear afterward and resemble the mature plant’s characteristic foliage. When seedlings have developed true leaves and are large enough to handle, they may be ready to thin or pot up, depending on the crop and container.
To pot up:
- Fill the new container with damp mix and make a hole large enough for the root ball.
- Loosen the seedling carefully from its cell, supporting the root ball rather than squeezing the stem.
- Move it into the new container at an appropriate depth for that crop.
- Firm the mix gently around the roots.
- Water enough to settle the mix, then keep the plant in suitable light while it recovers.
Some crops tolerate being planted a little deeper than they grew; others should remain at their original depth. Check crop-specific instructions rather than applying one rule to every seedling. Handle stems and leaves gently, since crushed stems or torn roots can set plants back.
Avoid common indoor seedling problems
Weak, stretched seedlings usually point to insufficient light, excessive warmth, overcrowding, or some combination of those conditions. Move the light closer within the fixture’s safe operating range, space plants so leaves are not packed together, and avoid keeping seedlings unusually warm after emergence.
Yellowing can have several causes, including excess water, poor drainage, limited light, or a plant that has outgrown its container. Check the mix and roots before adding fertilizer. Seed-starting mix may contain little nutrition, but young seedlings do not always need immediate feeding. If a plant needs fertilizer, use a product labeled for that purpose and follow its instructions.
Fungus gnats are more likely to become a nuisance when the growing medium stays wet. Letting the surface dry somewhat between waterings, removing dead leaves, and improving airflow can reduce conditions they favor. Avoid treating a problem before identifying it; the wrong response can stress seedlings without addressing the cause.
If seedlings lean, stretch, or develop pale growth, correct the growing conditions before trying to compensate with stronger fertilizer. Healthy roots, suitable light, and balanced moisture matter more than feeding a stressed plant.
Harden off and transplant at the right time
Seedlings raised indoors are accustomed to sheltered conditions. Moving them directly into outdoor sun, wind, and temperature swings can scorch leaves or stall growth. Hardening off is the gradual transition that helps plants adjust before they go into the garden.
Use a gradual transition
Begin hardening off when the outdoor conditions are suitable for the crop and there is no forecasted weather that would put the plants at risk. Start with a short period in a sheltered, shaded place. Increase outdoor exposure gradually over several days, moving toward brighter light and more air movement as plants tolerate it.
Bring tender seedlings back indoors when conditions become too cold, windy, or severe. The process can take longer when weather is changeable. A single warm afternoon is not enough to prepare indoor-grown plants for full sun and wind.
Keep track of how the seedlings respond. Pale, bleached, or scorched patches can indicate too much direct sun too quickly. Drooping that continues after the plant is back in sheltered conditions may signal stress or drying. Slow down the transition rather than forcing seedlings through conditions they are not ready for.
For a step-by-step approach, see Hardening Off Indoor Seedlings Before Planting Out in Ohio Beds. If cold nights remain a concern, When Is It Safe to Move Warm-Season Seedlings Outdoors in Ohio? and Managing Late Spring Frost Threats After Warm Spells offer related guidance.
Check soil and weather, not just seedling size
A seedling may look large enough to plant and still be a poor candidate for immediate outdoor conditions. Check the crop’s temperature needs, the soil condition, and the forecast. Soil that is cold and wet can slow establishment, while a late frost can damage tender plants even after a mild spell.
Do not plant into ground that is waterlogged or too wet to work without compacting it. If soil sticks heavily to tools or forms a dense smear, it may be better to wait. A well-prepared bed with workable soil gives roots a better start than a rushed transplant into cold, saturated ground.
Planting depth and spacing depend on the crop. Follow the packet or trusted crop-specific guidance. Water the planting area so the root ball and surrounding soil make good contact, then monitor moisture as the plant establishes. A newly transplanted seedling may need more frequent checks than an established plant, especially during dry, windy weather.
When planting, hold seedlings by their leaves or root ball rather than pinching the stem. Settle the soil gently around the roots. If a seedling is tall and weak, do not assume burying a large portion of its stem is appropriate for every crop; use crop-specific guidance.
Protect newly planted seedlings when conditions change
Transplants can face wind, bright sun, cold nights, and drying soil during the first days outside. Temporary protection may help, but it should be suited to the crop and conditions. Any covering should be secured and managed so plants do not overheat or remain trapped in poor airflow.
If a cold snap is forecast, assess the crop’s tolerance and the protection available before deciding whether to transplant. A plant that has not yet gone outside may be safer indoors for another short period, provided it still has adequate light and space. Avoid leaving tender seedlings in a cold garage or unheated area unless the crop can tolerate those conditions.
Once plants are in the garden, watch for wilting, leaf damage, or stalled growth. A short adjustment period is normal, but persistent stress calls for checking moisture, roots, exposure, and recent weather. A small amount of patience during establishment can prevent repeated replacement of damaged plants.
Make the schedule work for your Ohio garden
Ohio’s spring conditions do not arrive uniformly. Regional climate, elevation, exposure, and local terrain affect how quickly a garden warms and how likely cold air is to settle in a particular spot. Even two gardens in the same community can behave differently.
Use regional information as a starting point, then keep notes on your own beds. Record when soil becomes workable, when cool-season crops establish, and how tender transplants respond. Over time, these observations help you refine your planting plan without treating one year’s weather as a permanent rule.
Adjust for location and microclimate
A low-lying garden can collect cold air. A slope or well-drained raised bed may warm and dry sooner, while a shaded area can remain cool longer. Buildings, fences, and tree cover can affect wind and sun exposure. These conditions can shift your practical planting window even when a regional schedule is the same.
Avoid assuming that a warmer-feeling yard is automatically safe for every crop. A sheltered location may reduce wind exposure, but clear, cold nights can still damage tender plants. Check the forecast near planting time and be prepared to delay transplanting if conditions are unsuitable.
Regional resources can help narrow the planning window. Comparing Spring Planting Windows Across Ohio Regions discusses differences across the state, and Planning Spring Garden Beds Around Early Spring Freeze Risks can help you think through cold exposure before setting out plants.
Use indoor starts selectively
Indoor seed starting is valuable, but it is not required for every crop. Some seeds are better sown directly outdoors because they dislike root disturbance, grow quickly, or do not need the extra lead time. Direct sowing also frees indoor space for crops that benefit more from a head start.
A useful decision is whether indoor starting solves a real problem for that crop. It may help you grow a particular variety that is hard to find as a transplant, plan an early crop, or avoid waiting for slow-germinating seed in outdoor soil. It may be unnecessary for a fast-growing crop that establishes well from direct sowing.
There is also a trade-off between control and labor. Indoor starts require equipment, daily attention, potting up, and hardening off. Buying a transplant can simplify the process, though selection may be limited. Direct sowing avoids indoor care but depends more on outdoor soil and weather conditions. Starting Your First Ohio Vegetable Garden: Step-by-Step Guide can help beginners choose a manageable mix of crops and methods.
Reuse what works and improve what does not
At the end of the season, review your notes. Which crops were ready too early? Which seedlings struggled after transplanting? Were trays too crowded, or did a sunny window provide enough light? Did a particular crop perform better when direct-sown?
Use the answers to adjust only one or two parts of the plan at a time. Starting tomatoes later, sowing fewer seeds, changing the light distance, or using a different container may solve a specific problem. Making many changes at once makes it harder to tell which adjustment helped.
Clean and store reusable containers after the growing season. Keep seed packets in a cool, dry place, and label saved seed clearly with its crop and collection details. Check saved seed for condition before the next round. A tidy, recorded setup makes the following season easier to plan.
Indoor seed starting is most successful when it fits the garden’s actual space and timing. Start with a few crops, use packet directions, and make room for local weather to change the plan. With a manageable number of seedlings and a gradual move outdoors, you can produce sturdy transplants without turning the season into a race.
Frequently Asked Questions
When should I start seeds indoors in Ohio?
Count backward from the likely outdoor planting window for each crop, using the seed packet’s recommended indoor lead time. Adjust for your location and current conditions rather than relying on one date for all of Ohio.
Can I start all vegetable seeds indoors?
No. Some crops are usually better direct-sown because they grow quickly or do not transplant well. Check the packet and compare the effort of indoor starting with the crop’s outdoor sowing needs.
Why are my indoor seedlings tall and weak?
Leggy growth most often points to inadequate light, excessive warmth, crowding, or a combination of these. Improve light exposure, give plants room, and avoid keeping them too warm after they emerge.
Do seedlings need fertilizer as soon as they sprout?
Not necessarily. First check the growing mix, watering, light, and container size. If fertilizer is needed, use a product labeled for seedlings or the intended crop and follow its instructions.
How long does hardening off take?
It depends on weather and how seedlings respond. Increase outdoor exposure gradually over several days, starting in a sheltered location and progressing toward brighter light and more air movement.
Disclaimer
This article is for general informational purposes only and does not constitute professional advice. Laws, prices and regulations vary by location and change over time. Consult a qualified professional for guidance on your specific situation. Ohio Gardening Guide is not a government agency and is not affiliated with any university extension, state department of agriculture or other government agency.